Choose your fields
Select the input types your process requires from the field library.
Visual form building
Build powerful forms without writing code. Create professional, workflow-ready forms through a visual drag-and-drop designer. Add fields, arrange them, configure how they behave, and preview the finished experience before it reaches users.
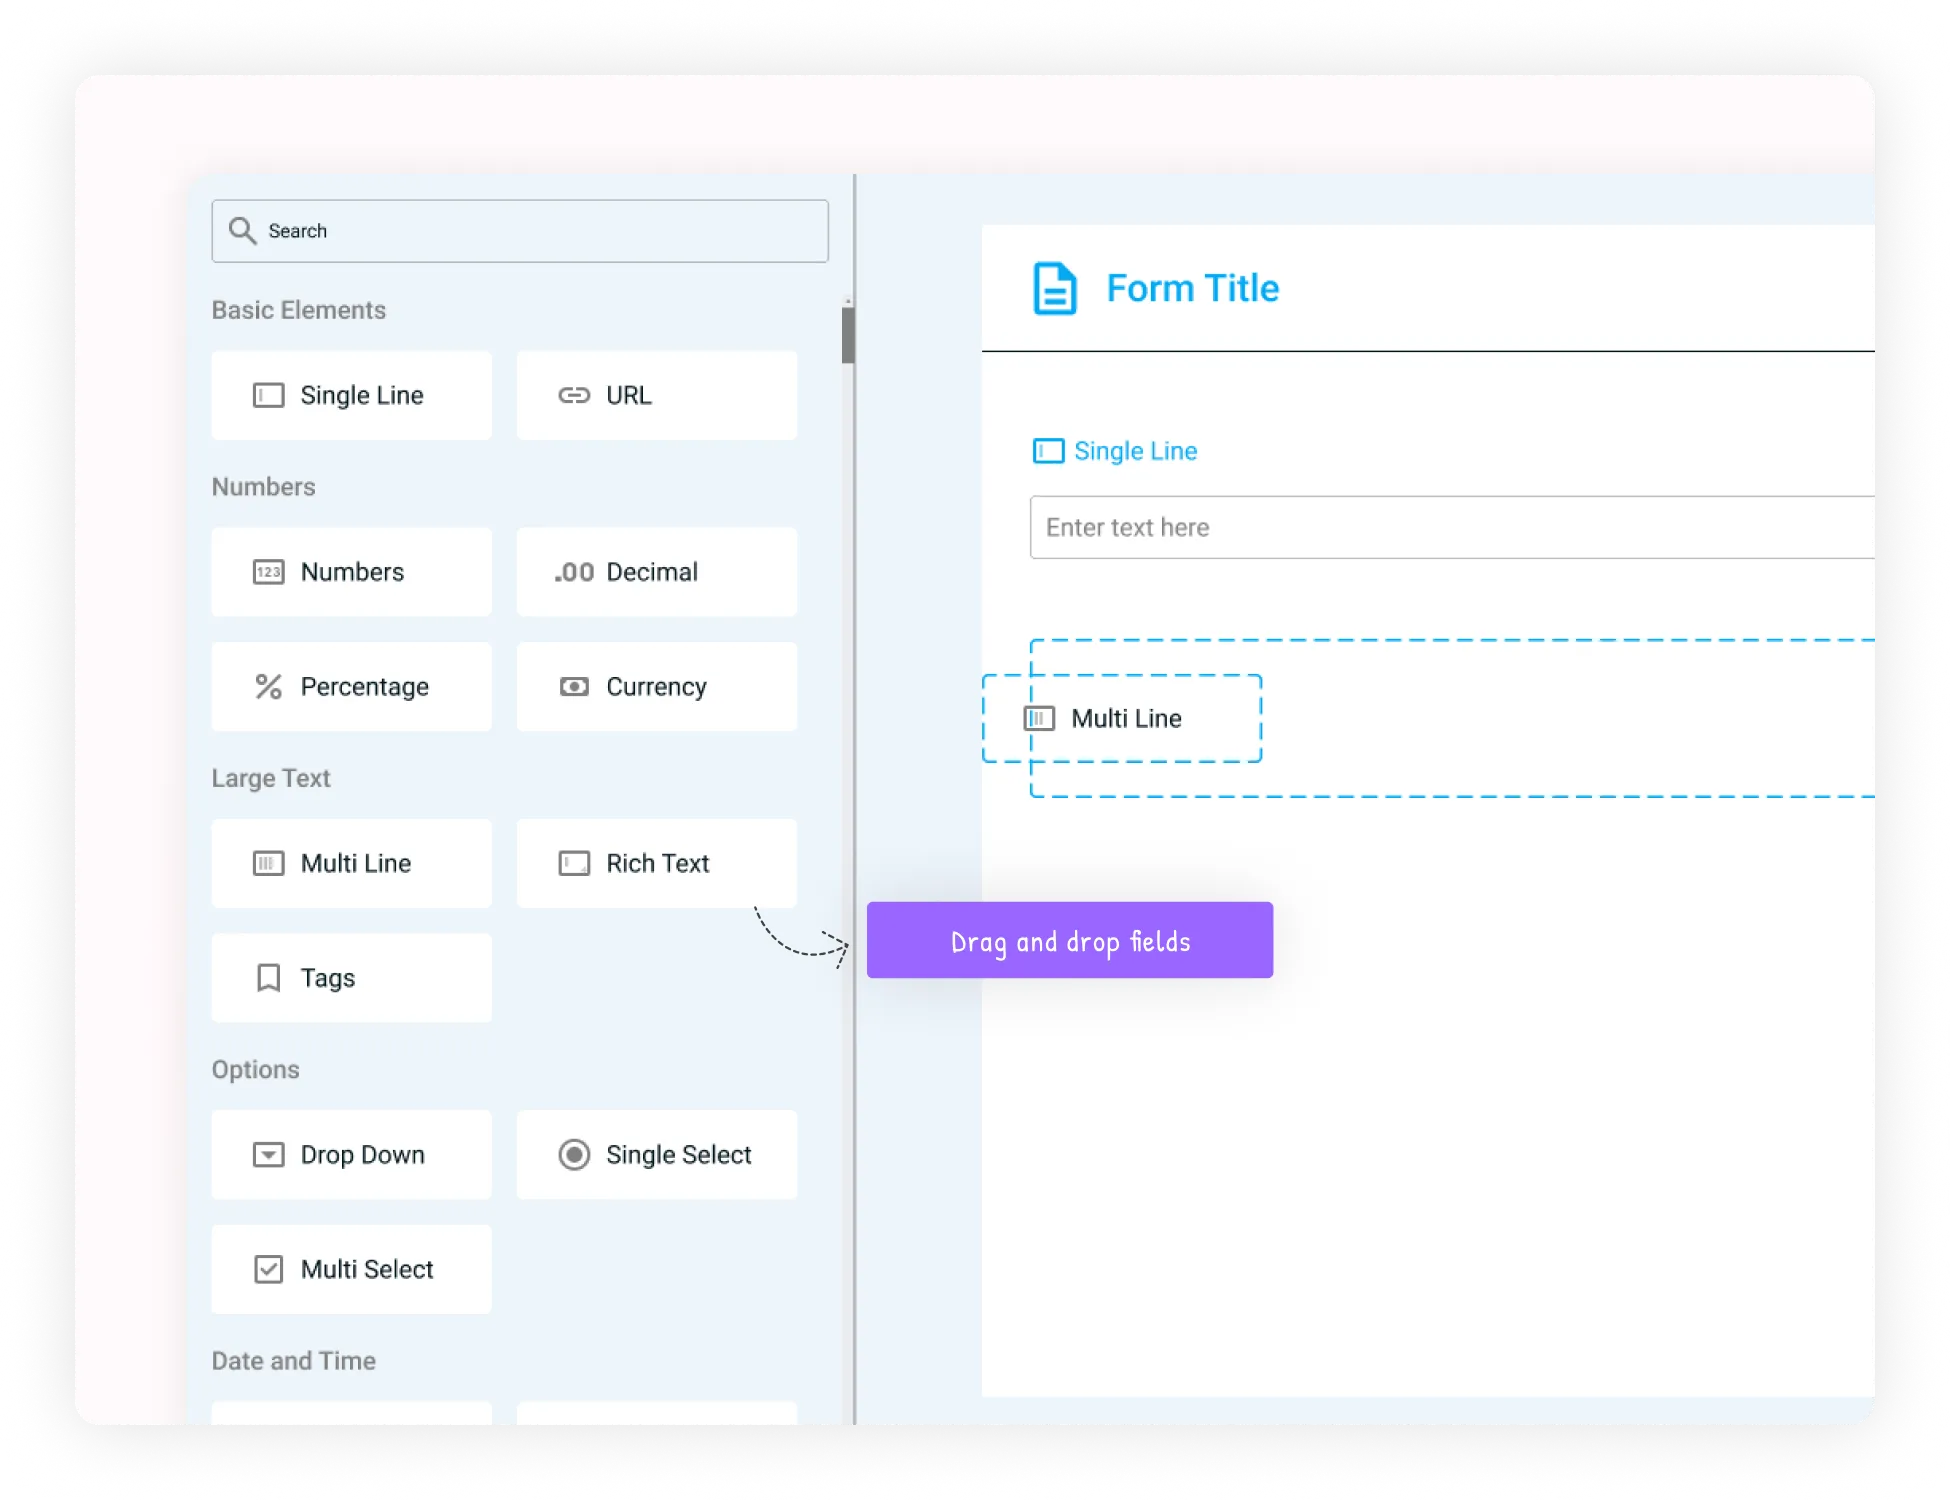
Build forms visually
Choose fields, arrange the form, configure behavior, and review the result without depending on developers for every change.
Select the input types your process requires from the field library.
Drag fields onto the canvas and organize a logical sequence.
Define labels, requirements, validation, visibility, permissions, and properties.
Use live preview to adjust the experience before deployment.
Everything you need in one builder
The field library, design canvas, and configuration panel work together as one visual interface.
Browse text fields, long text, dropdowns, dates, uploads, checkboxes, selections, numeric, currency, and configured business fields.
Add, reorder, remove, duplicate, and review the structure of your form.
Define labels, descriptions, help text, required state, validation, visibility, access, and supported options.
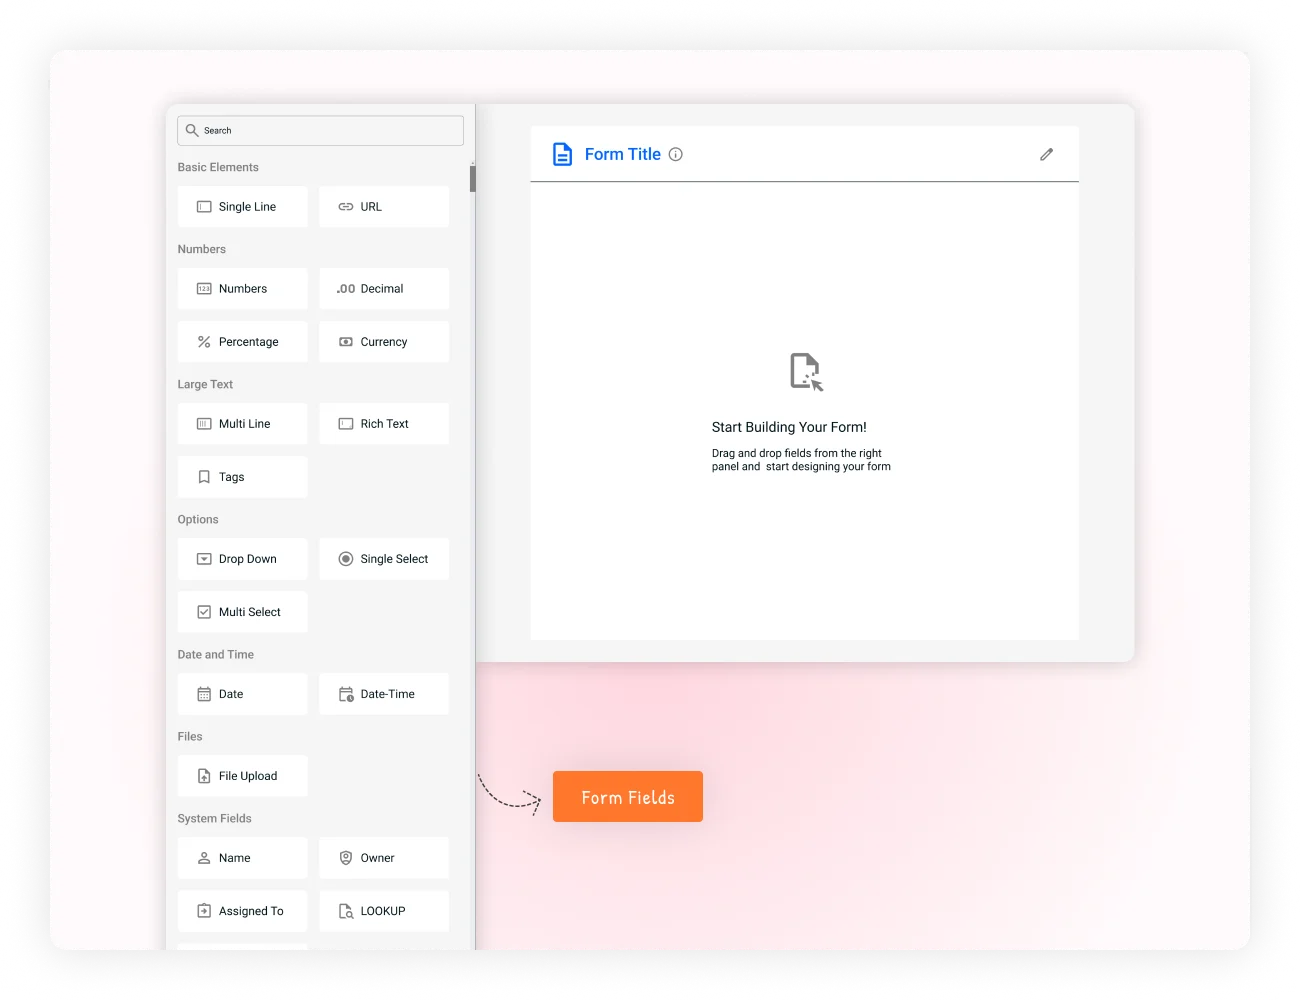
Configure every part of the information you collect
Different workflows need different levels of structure. Configure each field so users know what to provide and the workflow receives reliable information.
Use dropdowns, dates, selections, numeric inputs, and other structured types where predefined values are more useful than free text.
Mark critical fields as required so essential information is not accidentally omitted.
Use available validation rules to keep submitted information within expected requirements.
Add descriptions and help text where users need clarification.
Use available visibility settings to determine what users can see and interact with.
Configure access to fields or information where supported by permissions and workflow settings.
Create forms from the right starting point
Not every process needs a blank canvas. Start from the option that gives your team the right foundation.
Begin blank, pick a template, duplicate an existing form, or build around a workflow phase.
Start from scratch when you need complete control over structure and fields.
Use a pre-built structure for common business processes and customize it.
Duplicate a similar form when another process only needs modifications.
Build around an established workflow phase so collected information has a clear destination.
A complete form-building workflow
Seven stops from opening the designer to making the form available to users.
Create a blank form, select a template, duplicate an existing form, or begin from a workflow context.
Choose the required fields from the library and add them to the canvas.
Move fields into the order that makes sense for the person completing the form.
Set labels, descriptions, requirements, validation, visibility, access, and options.
Review structure, field order, required information, and user experience.
Save the completed form configuration once it is ready.
Make the form available to users or connect it to the relevant workflow.
Preview before you put the form to work
Use live preview to catch issues during creation rather than after the form has already been deployed.
Check that questions appear in the right sequence.
Confirm users understand what each field asks for.
Verify important information is clearly required.
Review input structure and field behavior before deployment.
Check how the complete form feels from the user's perspective.
Make changes, preview again, and publish when ready.
Turn collected information into action
Connect data collection with the work that needs to happen next.
Define the information the process needs.
Users provide information through the form.
Responses become structured business data.
Information enters the associated workflow.
Teams review, act, approve, assign, or process the work.
Forms for real business processes
Six teams that build their forms around the information they actually collect.
Lead qualification, client onboarding, proposal requests, opportunity information, budgets, and timelines.
Applications, onboarding, performance reviews, employee details, documents, equipment, and manager information.
Expenses, budgets, invoices, amounts, categories, dates, cost centers, receipts, and approvals.
Tickets, bug reports, feedback, issue descriptions, categories, priority, screenshots, and files.
Quality inspections, maintenance, incidents, safety processes, checklists, identifiers, locations, and signatures.
Campaigns, events, content, objectives, audiences, budgets, assets, dates, milestones, and approvals.
Evolve your forms as your process changes
Add information, reorganize the user journey, refine settings, or reuse existing work instead of rebuilding from scratch.
Introduce new fields when additional information becomes necessary.
Change the order of fields as the user journey evolves.
Update labels, descriptions, requirements, validation, and settings.
Duplicate existing forms or start from templates when similar work appears.
Why teams choose Drag-Drop Designer
Six reasons teams move form building in-house. Open any one to see the detail.
Create and modify forms directly instead of waiting for development resources.
Business teams can build professional forms without writing code.
Configure fields around the actual requirements of each process.
Review the user experience before deployment through live preview.
Start from templates or duplicate existing forms.
Move collected information into workflows where it can be acted upon.
Create the form, capture the information, and start the work through a visual experience built around your business.